In addition to being Easter weekend, we also got some work done for Donna. Because of the holiday, my son was able to work on Friday, then we continued into Saturday.
This weekend saw us disassemble the 8 inch rear end. It was obvious from the start that Donna’s rear end had not been opened (or maybe even serviced) since her birth in 1968. 50+ years of wear, heat, rust and grime had forged many of the connections that should have come loose reasonably well into a nearly solid mass.
So we began by removing the leaf springs, and brake lines…
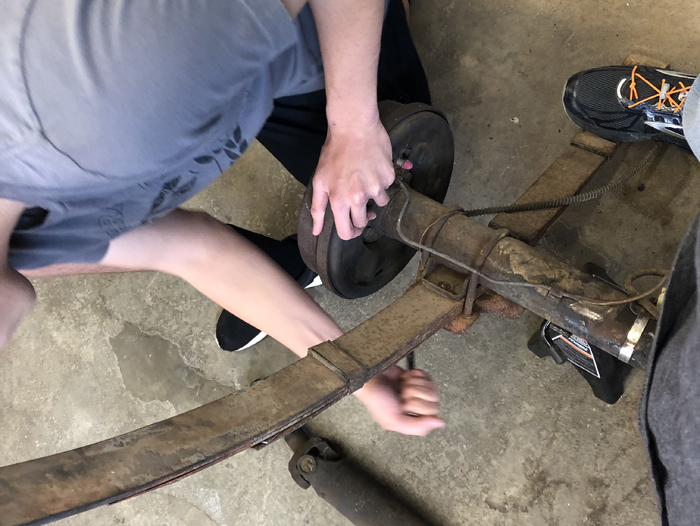
The way the rear end is assembled, you must remove the axels to be able to remove the gear carrier (lovingly referred to as the pumpkin.) The splined ends of the axels go into the ring gear carrier. Out near the wheels, the axel passes through a seal which prevents the gear oil from leaking out and outside of that seal is the wheel bearing and a bearing retainer plate. The bolts that go through the flanges on the end of the axel housing secure the drum brakes as well. So the axels must be pulled first…
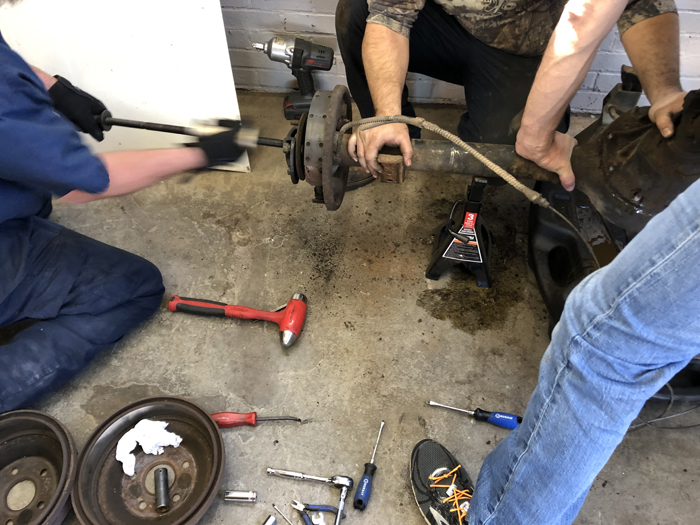
Back to the wear, heat, rust and grime—the axels were very well stuck. It took four of us and a slide hammer to pull them out. Once we had them out we could remove the nuts holding the gear carrier. Again, the years had glued these parts tightly together and it took chisels, hammers, screwdrivers and elbow grease to get them apart.
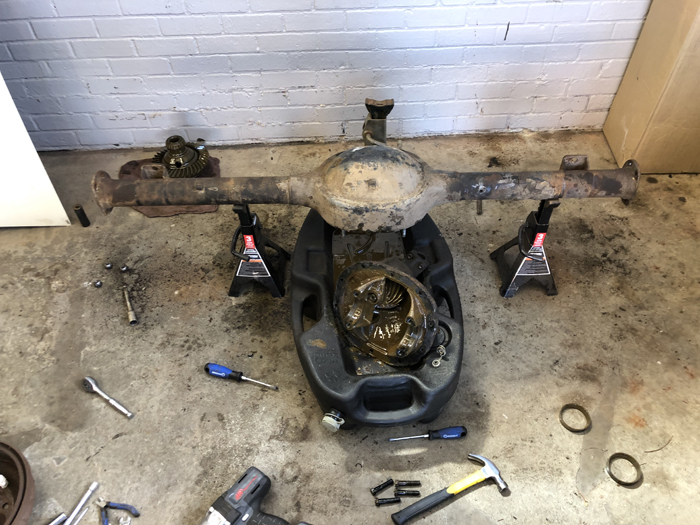
We finished dismantling the gear carrier and then started cleaning things. We found some tips on the interwebs that suggested oven cleaner as an effective cleaner for undercarriage grime. We got a few cans of off-brand heavy duty oven cleaner and headed to the car wash.
Quite a few quarters and some inhaled fumes later and we had a basically clean axel housing.
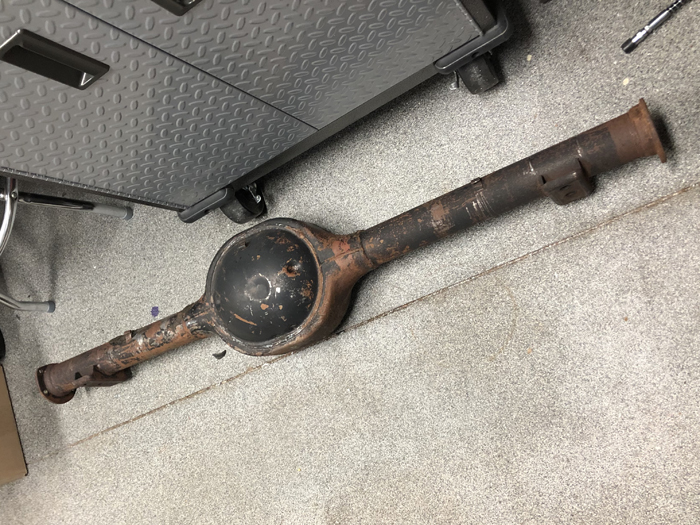
We then used a sand blasting cabinet to finish the clean-up of the pumpkin and the axel housing:
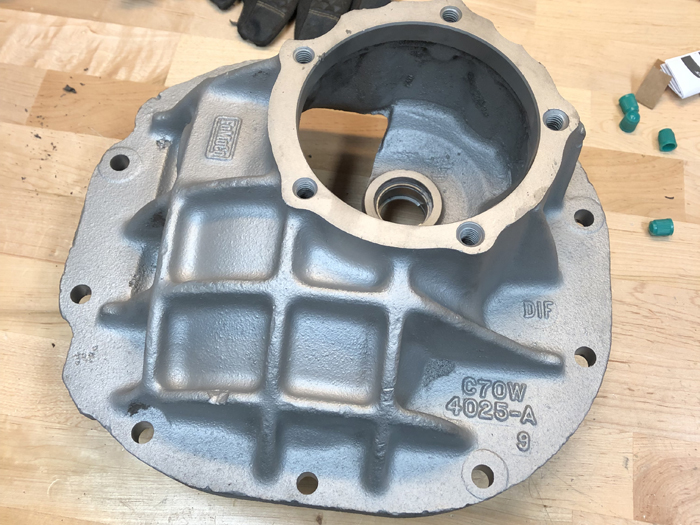
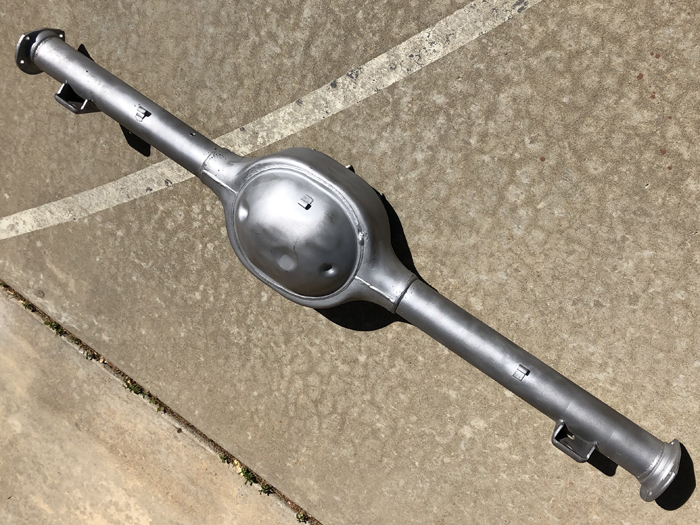
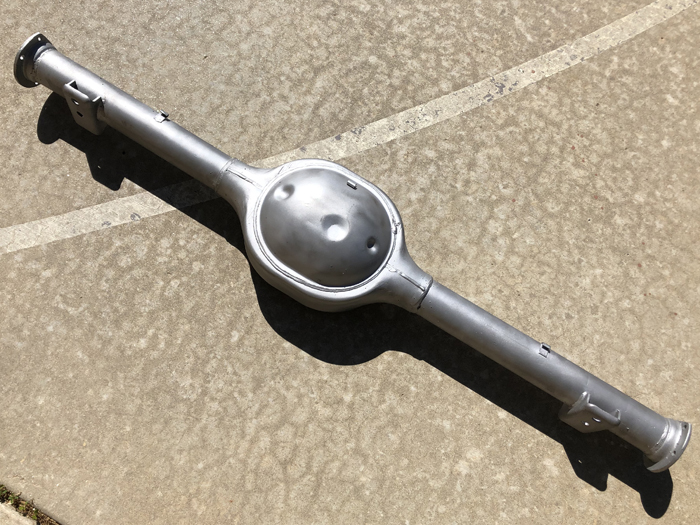
Cleaning everything off revealed the rather sloppy job that was done welding the parts together to create the axel housing. The welds were thick and there was a lot of splatter stuck to the tubes.
Several hours of grinding and polishing got us a clean, smooth, and ready to coat axel housing:
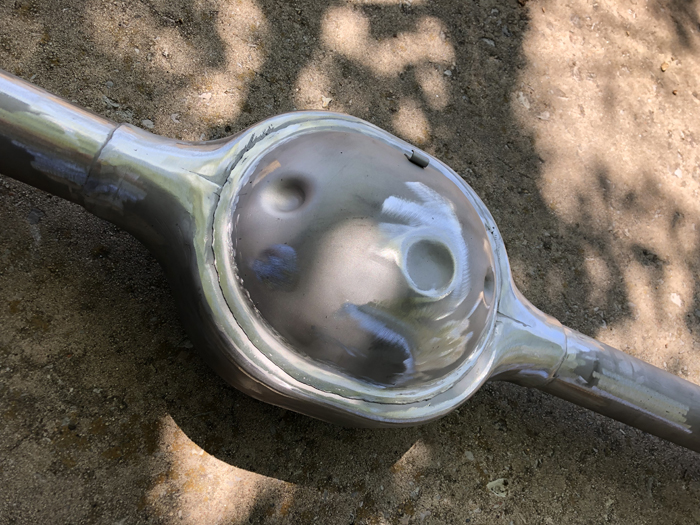
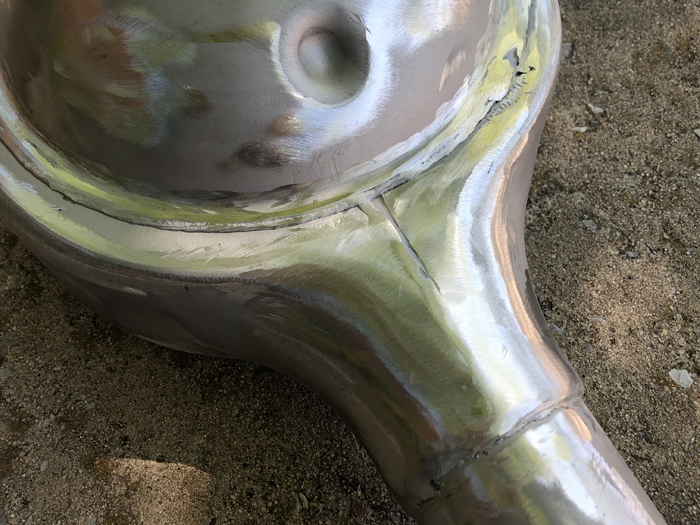
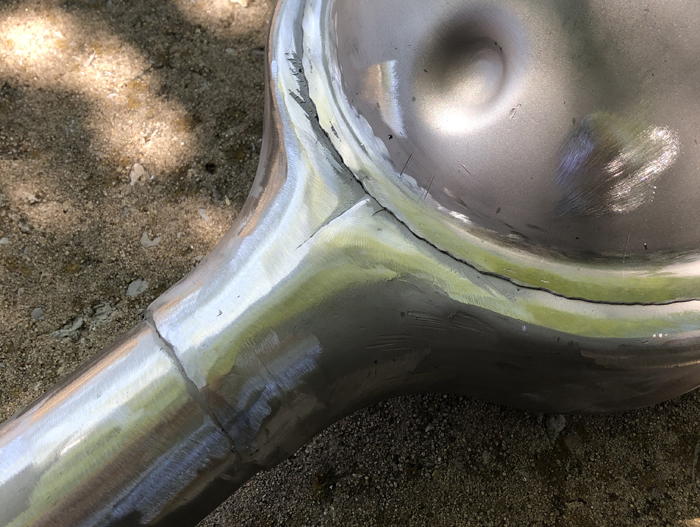
The two small indentations, or “dimples”, on the sides of the housing cover (the rounded part) were used to orient the housing cover in a fixture so it could be welded to the main housing. The larger off center indent (that looks like a dent) was actually the location of a fill hole in some versions of the differential. Apparently we got a differential housing with the indent, but without the fill hole. Our differential has a fill hole in the gear carrier housing. Here is a picture of a differential with the fill hole and plug:
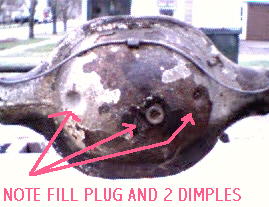
The original Ford 8 inch differential did not have a drain plug. This makes it very difficult to fully drain and refill the gear oil. We are going to install a drain plug using the same 1/2 inch NPT plug used for the fill hole. We will weld a 3/8 thick boss onto the case and then drill and tap it for the plug. In order to not have something sticking down lower than the bottom of the housing, we will place the boss slightly up the side. In this photo the housing is upside-down…
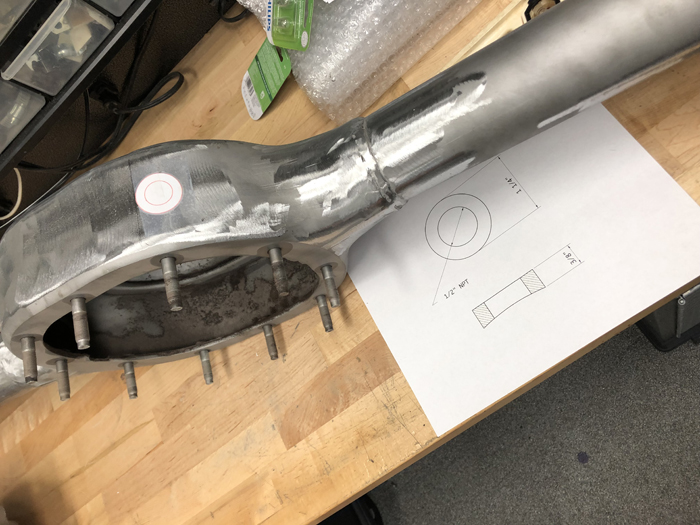
Once the boss is welded on and drilled and tapped, we will take the housing to our friends at ColorFast to have it powder-coated black. The gear carrier will be primed with self-etching primer, then sprayed with iron-oxide primer (what it came from the factory coated with) and then over-coated with matte clear to keep the iron-oxide looking good. Then we will reassemble the differential with new gears, bearings and seals, but that is for another day and another post.